Getting Started with Azure Logic Apps and SharePoint Online
Azure Logic Apps allow you to create workflows and processes inside your Azure environment. Logic Apps are part of the ‘serverless’ compute solutions for Azure. This means that you just pay for Azure Logic apps as you use and run them. Of course, they actually do run on servers but they are close to the software as a service side of the spectrum, so all of the servers and underlying infrastructure are managed by Microsoft and you as a consumer of Logic Apps don’t need to manage or configure this environment.
Azure Logic Apps are actually the implementation behind Microsoft Flow. Flow is a sort of front end interface designed to make the service accessible for a general audience including business power users and systems analysts. Azure Logic Apps are targeted towards enterprise developers and include features such as logic app deployment templates which would allow you to parameterize connections and deploy a logic app as part of build / release process.
For this post, I will start with a simple example of a Logic App that triggers on new items in a SharePoint list and generates an email.
Prerequisites: If you’re following along with this post, you should have an existing Azure subscription and access to a SharePoint Online tenant to test with. For this post, I also assume that you have a test SharePoint site with a list you can use for testing. A blank custom list will work for this exercise.
Creating the Logic App
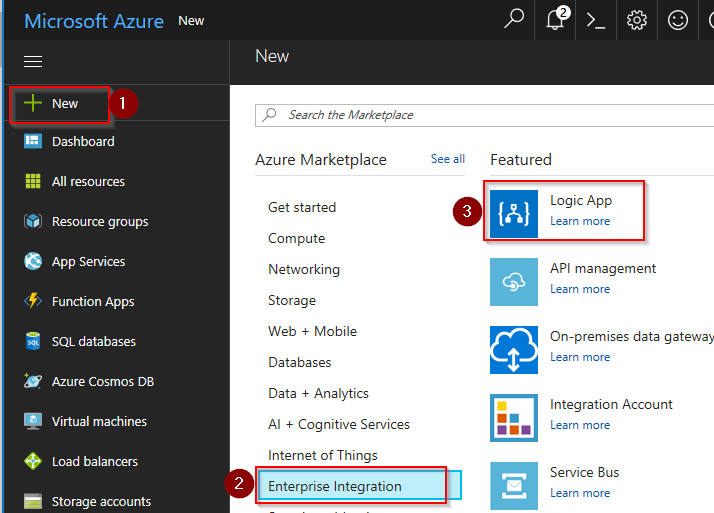
Inside the Azure portal, click on new. Then Enterprise Integration. Then click ‘Logic App’.
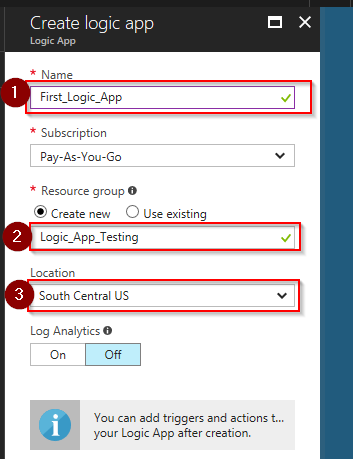
Next enter a name for your logic app, create or select a resource group, and confirm the location.
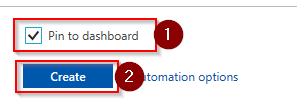
I also checked the ‘pin to dashboard’ option before clicking the create button.
At the prompt I will select the blank template to begin with.
![]()
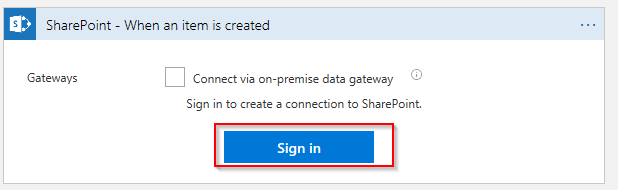
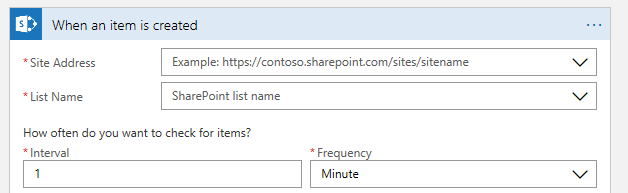
If you’ve done work with Flow you will notice some similarities with the designer. For the trigger I chose ‘SharePoint – When an item is created’.

Next, I will sign in.
Then, after logging in, provide the site address and select the list name. You can also configure the frequency for which the trigger will fire. For testing purposes, let’s set it to once a minute.
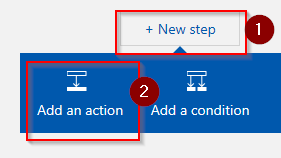
Next, add a new step and select an action.
I will select the action ‘Office 365 Outlook – Send an email’.
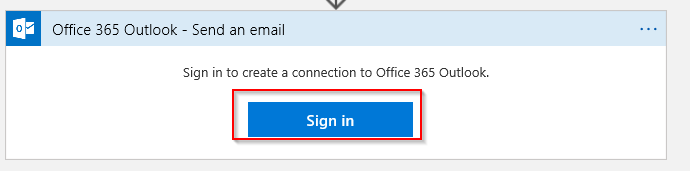
Next, I will sign in for the outlook connection.
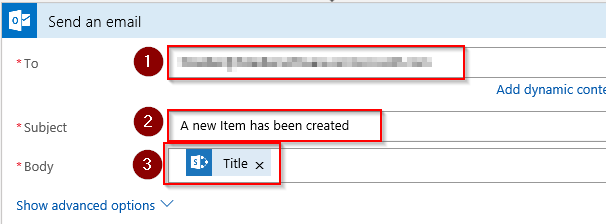
Then I will fill out the send email card with a to, subject, and body. In my example I just put in the title of the new item in the body of the email.
Ok, looks good. I will save the Logic App. One thing to note with logic apps is that the save action basically makes the app ‘go-live’, so as soon as I save it will start to run once a minute to poll my SharePoint list.

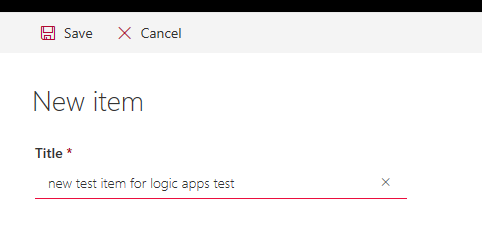
Lets test the logic app by adding a new SharePoint list item to my test list (a blank custom list).
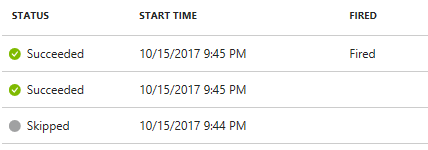
If I look back at my logic app blade in the Azure portal, I can see a couple entries for the minutes before I entered the new item and then the record for the successful run of the logic app.
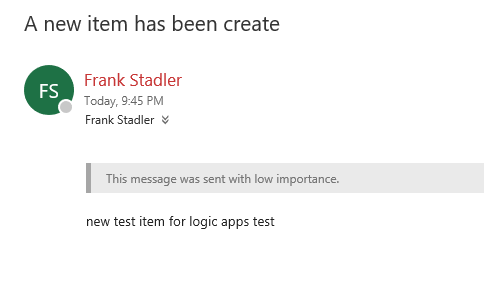
And if I check my email I can see that my test email was generated and I can see the test title that I entered for my new item.
At the end of my testing I also disabled the logic app and the test resource group so that they don’t continue to get billed for my subscription.
Conclusion
I think this post demonstrates it is fairly easy to get started with Azure Logic Apps. I think that many integrations and workflows of low to moderate complexity can be handled well with a Logic App. Logic apps also have good features in terms of monitoring and deployment, so I can see them as a good fit for many enterprise integration scenarios.
References:
Create your first logic app for automating workflows and processes through the Azure portal
About Author
Frank Stadler
Based out of Dallas, TX area. .NET based web developer LinkedIn Profile Twitter Page