Git Info Exclude
If you’re familiar with the git source control tool, you have probably come across the .gitignore file. This file allows specified files, usually created as part of the build process to be ignored (untracked) by git. There is actually an additional way to exclude files, the git info exclude, which I’ll be covering in this post.
The .gitignore file, if used is typically found in the root folder of your git repository. You can edit this file in a text editor to exclude individual files or groups of files (example *.dll). When you define and update the .gitignore file, you check in the .gitignore file (the file itself is a tracked change). This means that .gitignore updates that are checked in wil apply to all developers / users of your repository.
The second option is the git info exclude list. This approach has the advantage of only applying to the local environment. So if you have one particular file you have added in your local environment and you don’t want to be prompted to check in the file you can add it to the git info exclude list, and that setting will apply only to your local repository. You don’t need to check in this update to share with other developers, so anything in the git info exclude list remains truly local. It can be used in addition to the .gitignore file to exclude additional files just relevant to you.
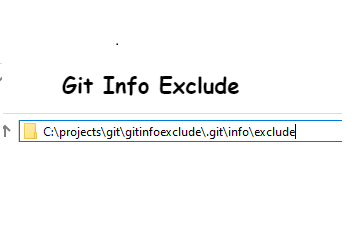
An easy way to set up your git info exclude list is by using windows explorer. If you navigate to the root of your local git repository, you can append ‘.git\info\exclude’ into the window explorer address bar and then hit the enter key.

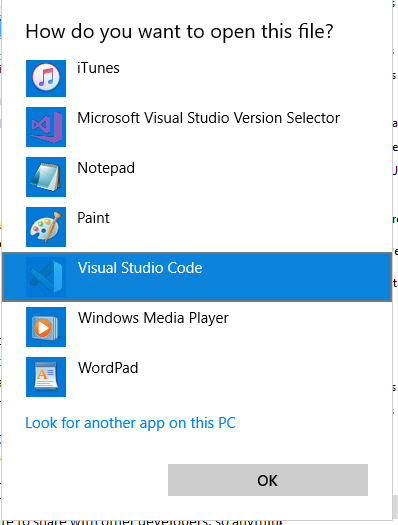
You will be prompted to open the info exclude file in a text editor. I will pick VS Code.
From here you can edit and save the git info exclude file.
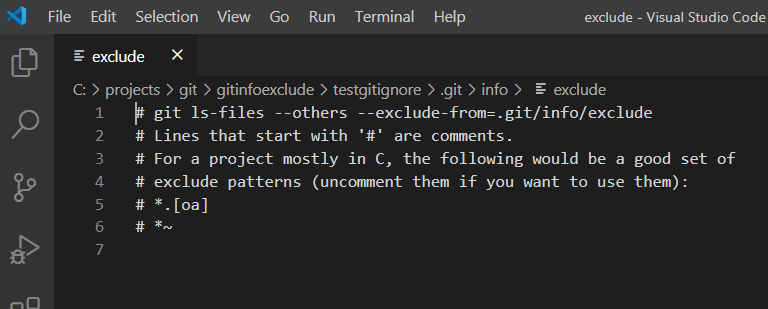
The file itself follows all of the same syntax as the .gitignore file. Just update and save and the new exclude only applies to your local repo.
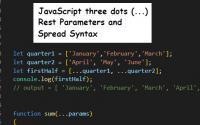
JavaScript Three dots (…) Rest Parameters and Spread Syntax
Chrome Debugging Tips
Creating an Azure Function to Audit SharePoint Sites
About Author
Frank Stadler
Based out of Dallas, TX area. .NET based web developer LinkedIn Profile Twitter Page