Getting Started with Azure Key Vault
![]()
Azure Key Vault is a feature within Microsoft Azure focused on the secure storage of secrets. Secrets could include user names, passwords, license keys, access keys that would be utilized by scripts or programs. So for example, a web app, PowerShell script, or an Azure function my need to utilize a service id or password for a particular resource. (on the developer side these are the kinds of things we typically store in a web.config or app.config file) Azure Key Vault also includes advanced features such as auditing and key rotation.
In this post I will cover how to create a key vault through the Azure portal and how to add a secret to the key vault. In a follow-up post I will cover how to read a secret as part of a PowerShell script.
![]()
If you’re following along with this post you should have an Azure account you can work with for testing purposes.

First, log in to portal.azure.com
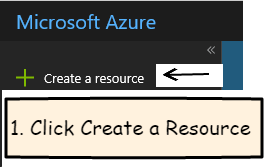
Then click the ‘Create a Resource’ button.
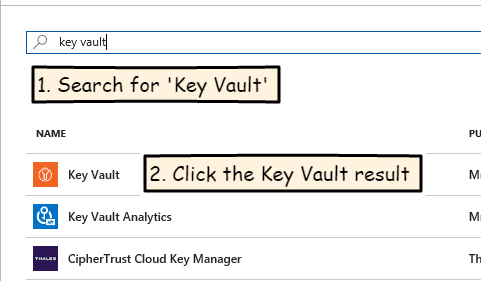
Then in the search box, type in ‘Key Vault’ and click the Key Vault link in the result list.
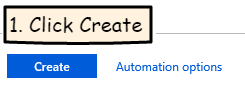
Click the ‘Create’ button at the bottom of the rightmost blade.
In the create key vault prompt, provide a unique name for your key vault, select a subscription to associate the key vault to, create a new resource group for the key vault, and select the location for the key vault.

Then click the ‘create’ button at the bottom of the Create key vault blade.
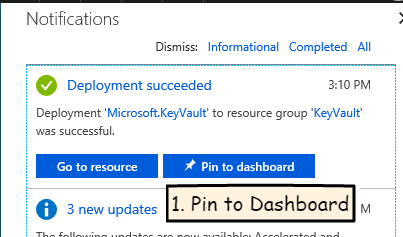
It will take a few seconds to create the key vault. When the process is complete you should receive a notification. It is recommended that you click the ‘Pin To Dashboard’ option.
And there we have it, your first Azure Key Vault has been created. The starting default is that only the account that created the key vault has permission to access it.

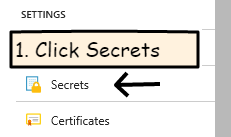
From your dashboard, open the Key Vault you just created. To add a new secret, we will start by clicking the ‘Secrets’ button.
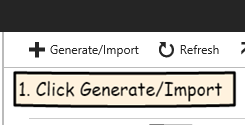
Next, click the ‘Generate/Import’ button.
In the Create a Secret screen, leave the default upload option as ‘Manual’ Enter a name for your secret. Then enter the value for your secret.
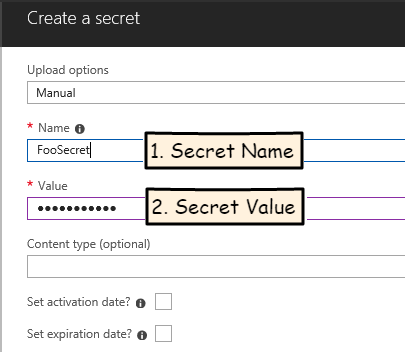
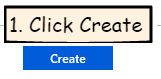
Then click the ‘Create’ button at the bottom of the blade.
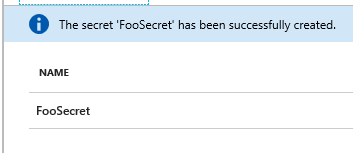
And there we have it, our first secret has been added to the Key Vault.
![]()
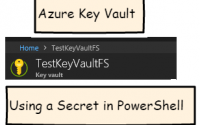
We’re off to a good start with the Azure Key Vault. We have created our first Key Vault and added our first secret to the vault. In a follow-up post I will provide a walk-through of retrieving a secret for use in a PowerShell script.
Once you’ve taken the leap of hosting your solutions in Azure, it really makes sense to take a look at the Key Vault feature. Rather than having secrets stored in individual web.config, app.config or Powershell scripts, having the ability to centrally define and manage a secret vault really makes your applications much easier to manage over time.
It should also be noted that you can create a Key Vault and add a secret through the Azure CLI or PowerShell, so these steps can be automated in deployment scripts.
![]()
Create a Key Vault – Portal
Retrieving Secrets from Azure Key Vault with PowerShell

Getting Started with Azure Logic Apps and SharePoint Online
About Author
Frank Stadler
Based out of Dallas, TX area. .NET based web developer LinkedIn Profile Twitter Page