Getting Started With Microsoft Forms and Microsoft Flow
Microsoft Forms, part of Office 365, allows users to create simple forms such as surveys, polls, and quizzes. Originally Forms was rolled out to Office 365 Education tenants, but recently the feature was also added to the standard commercial tenants in preview.
In this post I will create a simple Form and connect it to a Microsoft Flow in order to generate an email message and save the results to a SharePoint list.
Microsoft Forms
- Good for simple forms
- Forms are one-way. You can’t return to the Form and edit the submission
- Good for surveys, contains branch logic
- Has the capability to be used with Microsoft Flow
- Data is saved in the Forms site by default, not on a SharePoint site
- Forms can be shared externally
If you’re looking for more complex forms capability you should look at PowerApps.
Creating the Form
As I am writing this post, Forms is in preview. In my case I had a license to use Forms but I did not yet have a tile in the App Launcher. I was able to open forms directly by going to forms.office.com
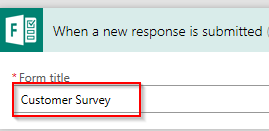
Step 1. Click the ‘New Form’ button.
I’m going to give my new form a title of ‘Customer Survey’.
Step 2. Now to Add a few questions to the survey. I’ll click the ‘Add Question’ button.
I’ll select a ‘choice’ type of question.
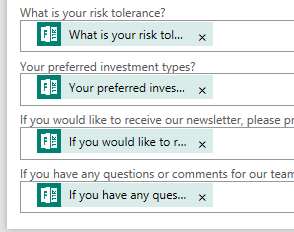
For question #1 will use ‘What is your risk tolerance?’ which options of high, medium, and low.

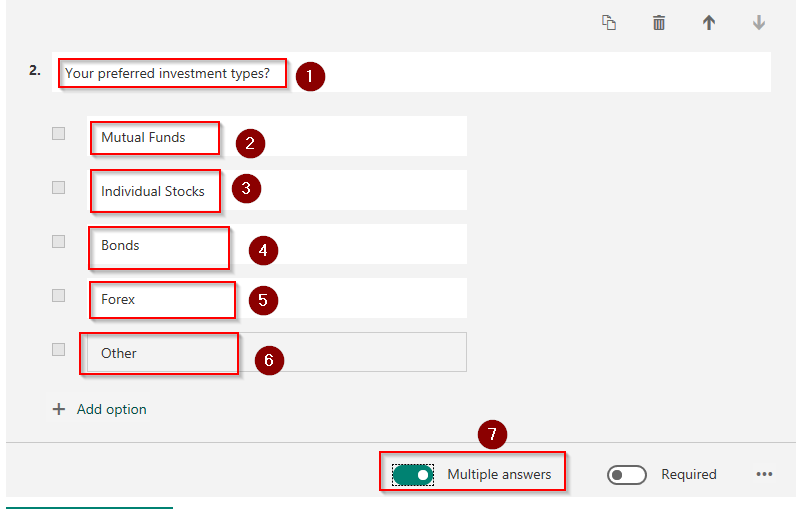
For question number 2, I will also select choice. The question name is ‘Your preferred investment types?’ and the options are ‘Mutual Funds’, ‘Individual Stocks’, ‘Bonds’, ‘Forex’ and other. I will also select the ‘multiple answers’ button which will display each option as a checkbox.
Our third question is a text type of field, ‘if you would like to receive our newsletter, please provide your email address.’

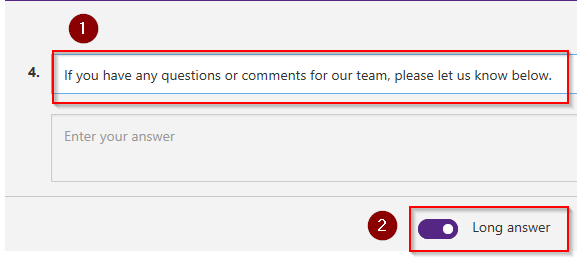
And our final question is another text field ‘If you have any questions or comments for our team, please let us know below.’ I will also click the ‘long answer’ button to allow for a memo type of textbox.
Step 3. Next we can click the ‘theme’ button to set a background for our form. I’m going to pick the office theme for this one.

Step 4. Then I’m going to click the ‘share’ button to make my form visible to others. Since this is a customer survey for a business, I will want to share the form externally, so I’ll select the ‘anyone with the link can respond’ option.
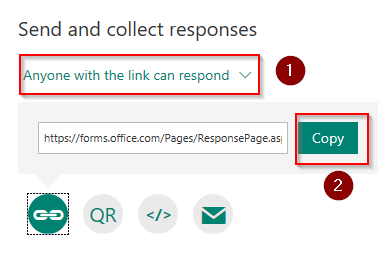
The default option is to distribute your Form with a link, which you can retrieve by clicking the ‘copy’ button. The other options include a QR code, html embed code to embed the form inside of another webpage, and generate an email.
I will keep the link option and copy my link to a text editor so I can test the form later.
Create the SharePoint List
In my example it would be handy to have a copy of the data also available on the team’s SharePoint site.
Step 1. On my SharePoint site, I will click settings add an app and select the ‘custom list’ app. I will give the list a name of ‘customer survey results’.
Step 2. Add columns to the list to match the questions from the Form.
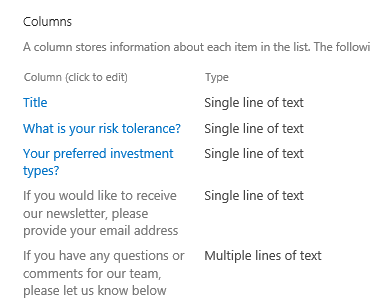
Note that I added question 1 and 2 as text type and not a choice type. The Flow action to create a SharePoint list item appears to currently have some restrictions on the field types supported so we will create those two columns as text types so that we can use them later on.
Create the Flow
Step 1. Log in to flow.microsoft.com with your corporate account. Click the ‘My Flows’ link and then click the ‘create from blank’ button.
![]()
![]()
Step 2. In the trigger box, type in ‘microsoft forms’ or select it from the list. Click the ‘Microsoft Forms – When a new response is submitted’ button.
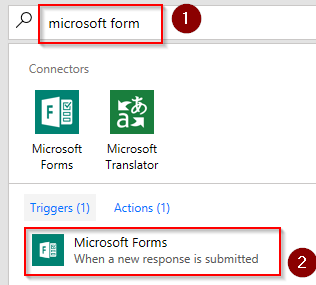
Step 3. From the ‘form title’ drop down, select the ‘Customer Survey’ form we just added.
Step 4. Add a new action ‘SharePoint – Create Item’. On the create item card put in the address of your SharePoint site and select the ‘Customer Survey Results’ list.

Then match up each of the fields with the corresponding field from the Form.
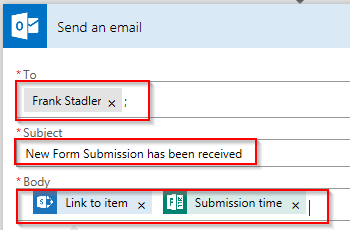
Step 5. Next we’ll add an action to send an email to alert a manager that a new customer survey has been received. Select the ‘send an email’ action. In the body field I also added in a link to the SharePoint list item we just created and the time the form was submitted.
Step 6. Finally give your Flow a title and click the ‘Create Flow’ button.

Test
To test I’ll open the link to the survey, fill in some test data and hit the submit button.

In a few moments my Flow kicks off. I now see my results in the SharePoint list.

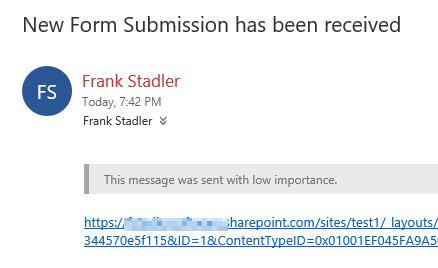
And I have received the email notice.
Conclusion
I think that Microsoft Forms makes it very easy to create simple forms for a non-technical audience. By pairing a Form with a Flow we are able to introduce additional capabilities such as copying the data to a SharePoint list and creating an email notice based on the Form data.
Links:
Microsoft Forms
Microsoft Flow
About Author
Frank Stadler
Based out of Dallas, TX area. .NET based web developer LinkedIn Profile Twitter Page