SharePoint Online Site Creation using Microsoft Flow and Azure Functions
Microsoft Flow is a cloud based workflow system. It can connect and work with many systems including SharePoint Online. Microsoft Flow is also designed as a no-code based system suitable for use by power users, business analysts, and others. It allows for the creation of custom approval workflows, notifications, and the automation of other tasks within and between systems.
Microsoft Flow also has the capability to integrate with Azure Functions. Azure Functions can be created and published by an Enterprise developer within your organization for the use of Flow authors, PowerApps, Azure Logic Apps, and .NET applications. This capability solves the following challenges:
- The ability to run an action with elevated privileges. (The ability for the Flow action to perform activities with higher permissions than the Flow author has.)
- The ability to develop custom actions not available with the out of the box Flow actions. (advanced features or custom logic based on in-house business rules)
- The ability for an enterprise developer to create and manage the functionality centrally using enterprise tools (visual studio, source control, Azure Functions). And the ability make the finished function available for use with Flow, PowerApps, Azure Logic App users, and .NET applications within the organization.
In this article, I will create a proof of concept using an Azure Function which will create a new site in SharePoint Online.
Prerequisites– If you’re following along with this procedure you should first have an Azure account to host the Azure Function. We will also be developing the Azure function in Visual Studio, so the audience for this section would be those in the ‘enterprise developer’ category.
Step 1. Create, Publish and Configure the Azure Function. (Audience: Enterprise Developer)
For this project, I authored the Azure Function in Visual Studio. Follow the article below for instructions on installing and setting up Visual Studio for use with Azure Functions. (tip: Visual Studio community edition is available for free, see site for details and conditions).
Following the tutorial above, I developed a new Azure Function that will create a new SharePoint site based on the parameters that are passed in. My complete GitHub repo for the solution is available at the following link:
https://github.com/FrankStadler/SPSiteProvisioning
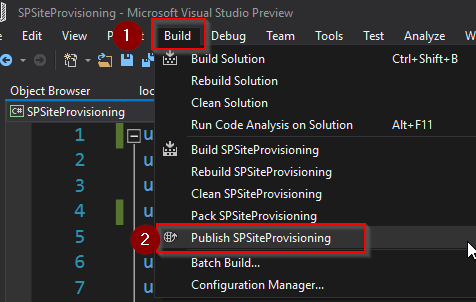
To publish the solution to Azure we start with Visual Studio. Inside Visual Studio, Click the Build menu and click the ‘Publish …’ menu item.
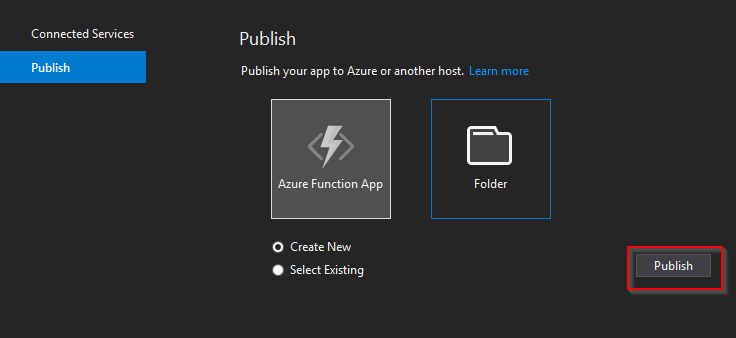
Click the ‘publish’ button at the prompt.
Next, log in with your Azure account and click the ‘Create’ button. (you can accept the default values)

Now I’ll log into the Azure Portal to finish the configuration for the function.
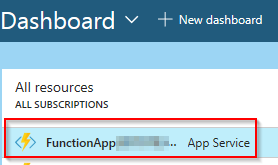
Log in to portal.azure.com and click the new function app in the dashboard.
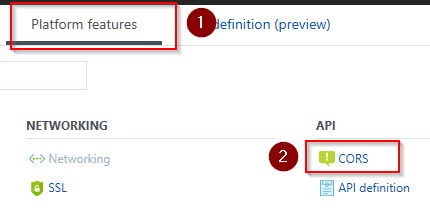
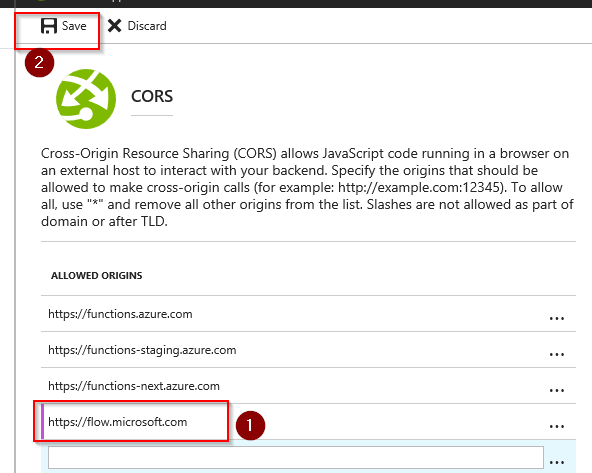
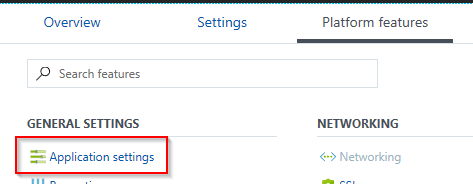
With the Function App open, click the ‘Platform Features’ tab and click the ‘CORS’ link.
Add flow.microsoft.com as an allowed origin and click the ‘save’ button.
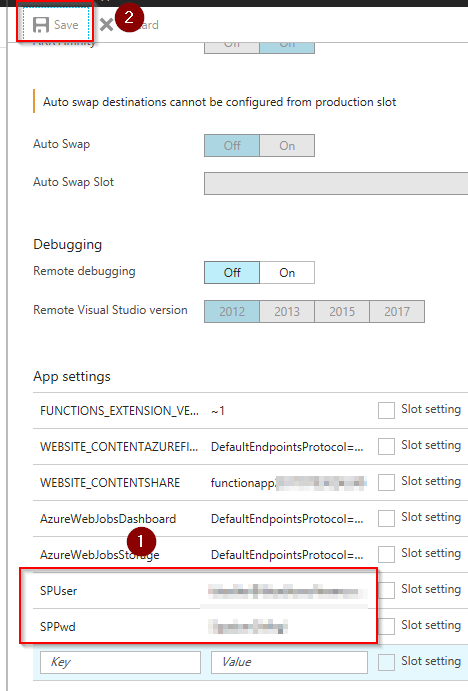
Next, open the application settings. In the source code for the Azure Function, we reference environment variables ‘SPUser’ and ‘SPPwd’. Typically this would be a service account you have set up with permissions to perform the site creation.
Under the ‘App Settings’ section, add a line item for SPUser and one for SPPwd and then click the ‘save’ button.
Next, click the ‘integrate’ link in the left hand column.

For the selected http methods, uncheck the ‘Get’ box, leaving just the ‘post’ box checked.
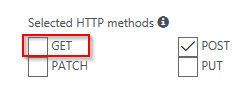
Limiting the supported methods makes the setup and configuration easier. And since my function is creating a new SharePoint site, in the REST based API world the convention would be to set that up as a ‘post’ method. A ‘get’ method would be appropriate if we were returning data in response to a query as an example.
Step 2. Register Custom Connector for Flow. (Audience: Enterprise Developer)
First, we’ll need to go back to the Azure portal for our function. We will generate an API definition for our function which we will use to create and register a custom connector for Flow. Click the ‘API definition’ tab.

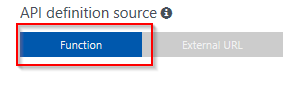
Click the ‘function’ button for the API definition source.
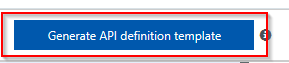
Click the ‘generate api definition template’ button.
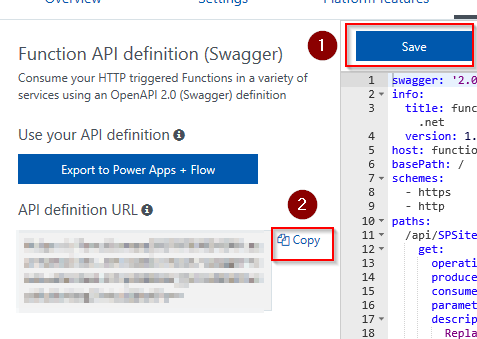
Verify that the template just includes a ‘post’ section. If it includes a ‘get’ section you can delete that section, we want our function to just support post requests.
Click the ‘save’ button, then click the ‘copy’ link on the API definition URL. Paste the link into Notepad or your favorite text editor.
Next, before we leave the Azure portal, we will grab a copy of the function key. Click the ‘Settings’ tab and copy the _master host key.

Paste the key into Notepad or your favorite text editor.
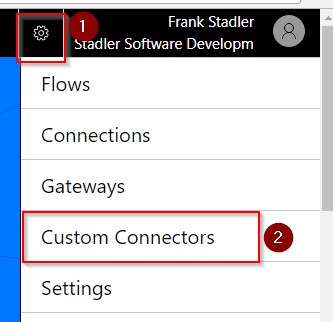
Next, log into flow.microsoft.com. Click the settings menu and then click the ‘custom connectors’ menu item.
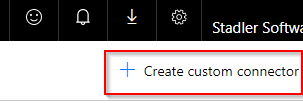
Click the ‘create custom connector’ button.
Click the ‘use an openapi url’ option. Then paste in the URL of our API definition that we copied to Notepad.
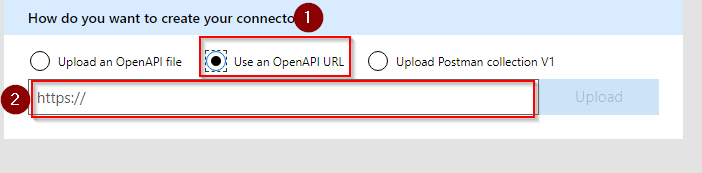
Then click the ‘upload’ button.

Click the ‘continue’ button.
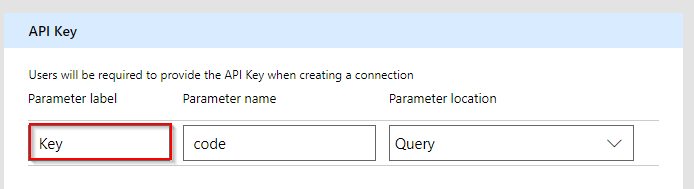
On the security screen we need to fill in a label for the key parameter. You can just use a label of ‘Key’.
Click the continue button again.
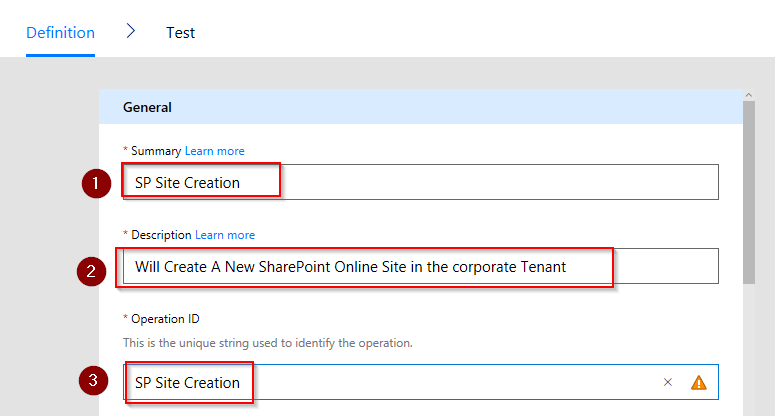
On the ‘definition’ tab, fill in the summary, description, and operation id fields.
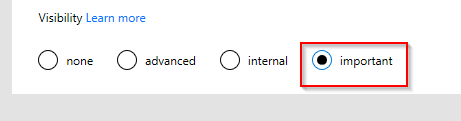
Then set the visibility to ‘important’.
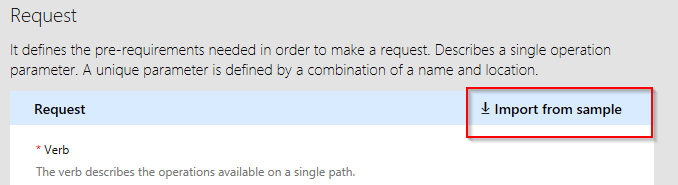
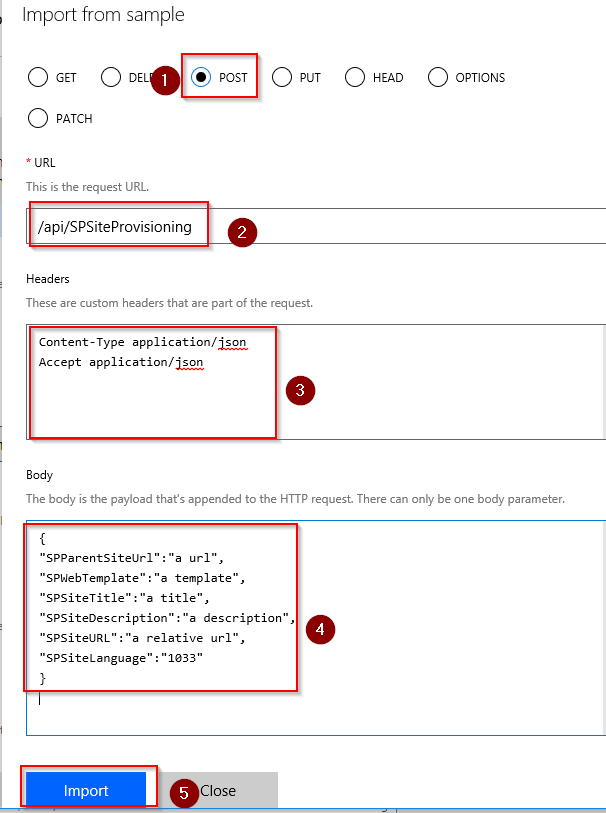
Under the request section, click the ‘import from sample’ link.
Put in the values to match the screen shot below, then click the import button.
Next, you can put in a descriptive name for the connection and then click the ‘create connection’ button.

Step 3. Create a SharePoint Site and Custom List. If you don’t already have a good SharePoint site you’d like to use for testing, go ahead and create one. The site will serve as the parent site for the new subsites we will be creating. We will also create a SharePoint custom list to serve as the input form for our Flow.
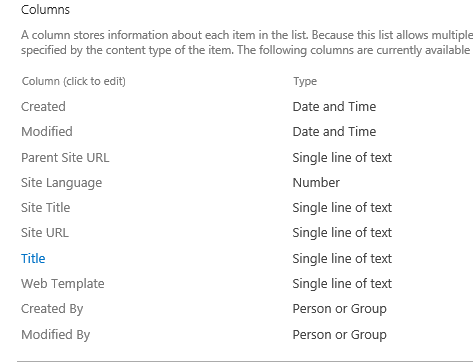
Create columns in the custom list to match the parameters for function: Parent Site URL, Web Template, Site Title, Site Description, Site URL, and Site Language.
Step 4. Create the Site Creation Flow. Next we will create a Flow that takes the data from the custom list input form and calls our Azure Function to create a new Site.
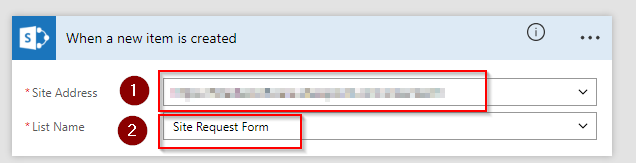
Create a new Flow from blank. For the trigger select SharePoint – When a new item is created. Select your test site as the site address and then select the ‘Site Request Form’ for the list.
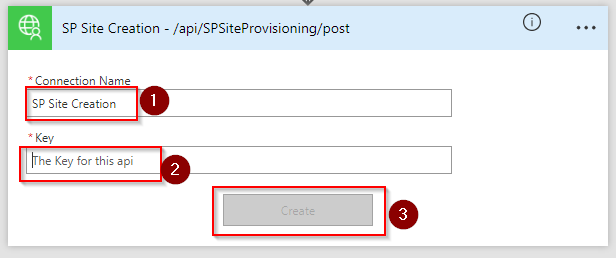
Next add an action. Select the name of your custom connector and choose the post action. Fill in a connection name, paste in the API key from notepad, and then click the ‘Create’ button.
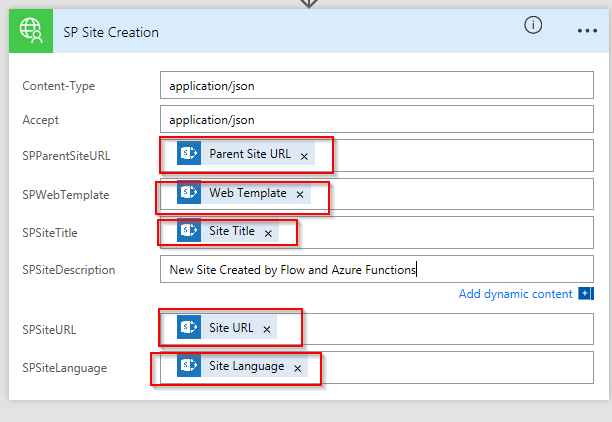
Then on the next screen, select the fields from our SharePoint list item to match the parameters to the web service call.
Finally, give your Flow a name and then click the ‘Create Flow’ button.

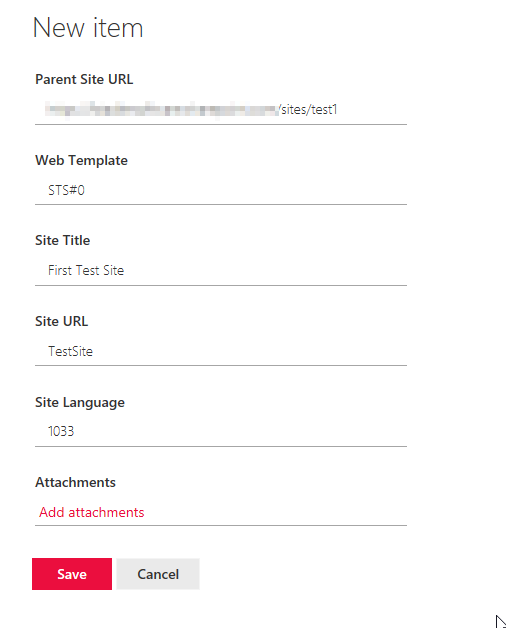
Step 5. Test. Back at the custom list, fill out a test record to verify everything is working.
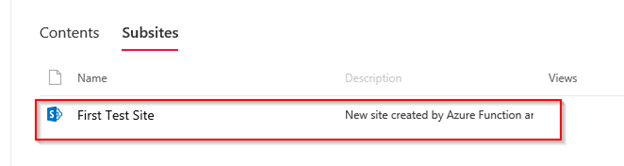
And the Flow will run, and our new site is created.
Conclusion. That completes the end to end walkthrough of the process of SharePoint site creation using Azure Functions and Microsoft Flow. It is a fairly lengthy procedure, and some of the existing posts and articles took different approaches or left important steps undocumented. So hopefully others will find this post helpful.
Since this is a proof of concept, there is plenty of room to add your own ideas and features. In a real world scenario, I’ve used site provisioning like this to create practice sites self-service for training sessions. It could also be used to create project sites on request, etc. So the ability to create a site based on a request form can be done without the requestor being trained as a SharePoint site owner. In my example, I took all of the input fields from the SharePoint form. Generally you would want to set more of the defaults as part of the workflow to make it easier for the end user, but this was a proof of concept to illustrate how data could originate in SharePoint for use with the Azure Function.
And you could add additional behavior to the Azure Function to set permissions after the site was created, or make a second Azure function to do that. So there’s plenty of enhancements that can be done.
Overall this is a fairly powerful pattern and can add a great deal of capability to Flow, and provide a bridge between features created by enterprise developers and Flow authors.
References:
Flow for enterprise developers
https://flow.microsoft.com/en-us/documentation/dev-enterprise-intro/
API Definition
https://docs.microsoft.com/en-us/azure/azure-functions/functions-api-definition-getting-started
How to call SharePoint from Microsoft Flow with the help of an Azure Function
https://medium.com/plumsail/how-to-call-sharepoint-from-microsoft-flow-with-a-help-of-an-azure-function-a5740794341
About Author
Frank Stadler
Based out of Dallas, TX area. .NET based web developer LinkedIn Profile Twitter Page